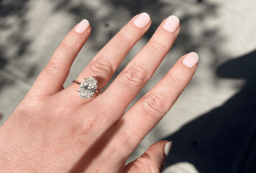
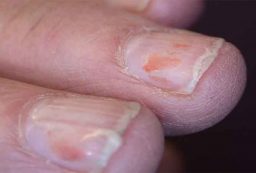
To maintain your beautiful nails, you opt for semi-permanent varnish! But inevitably, your nails grow back, and whitish spots appear at the base of the nail. So how to remove your semi-permanent varnish? Follow our guide.
Method to remove semi-permanent varnish in 20 minutes
STEP 1: Prepare the necessary materials
To remove your semi-permanent varnish, you will need:
- Nail polish remover with acetone,
- Cellulose or cotton,
- Aluminum,
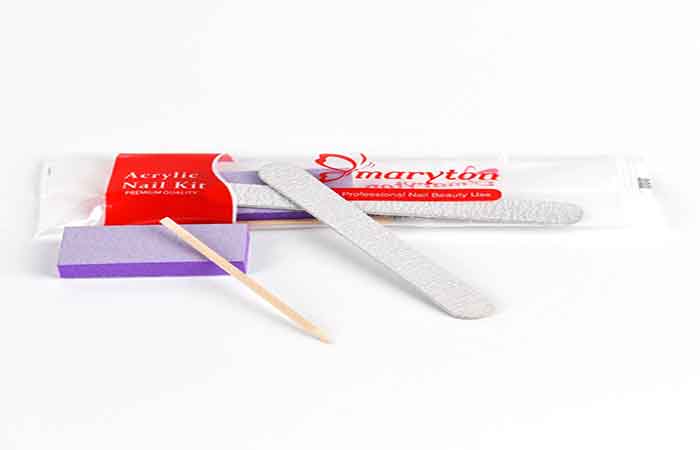
- A cuticle pusher,
- A buffing block,
- cuticle moisturizer
STEP 2: The technique to follow
- Start by cutting each square of cellulose into the size of the fingernail.
- Start by thoroughly soaking the cellulose with solvent.
- Place a small square of cellulose on the thumbnail and wrap well with a square of aluminum.
- Slip your hand into the latex glove. This will help hold the foil wrappers better.
- Gently remove the gloves, then the foil wrappers. You will find that the varnish has melted well.
- All that remains is to scrape off the excess on the nails with a cuticle pusher.
- Gently buff your nails with a buffing block, to remove any residue. Finish with the application of a moisturizer for your cuticles.
We hope you liked this article and that it will inspire you for future. In addition to these, I advise you to invest in a complete manicure set! To help you in your choice, I invite you to visit our website.
Read also: Everything you need to know about semi-permanent varnish


Leave a Reply